Saturday, January 31, 2015

Doll cups/ goblets

Christmas crafting is over, and I'm left with these extra jingle bells. I started making goblets by prying off the bell clapper.
Then I added some lovely bead caps to the bottom and glued it down with metal-friendly glue.
Ta da!

Doll plates


I made doll plates from the little pull tabs that come on juice cartons.
Pull that little tab off and you end up with the plastic bits on the left. I carefully sliced off the top ring and it ends up looking like the plate on the right.
I then printed some pictures of plates off. I just googled something like "china plate" in an image search.
I cut them out and used mod podge to glue the paper to the plastic.


Tuesday, January 27, 2015

Doll rose bouquet


Today's featured piece of trash is this lovely green soda bottle. I used it as stems for some recycled doll roses.
The first step is to cut the green bottle into tiny strips like so:
Then I put the strips over a flame. As the area of plastic over the fire becomes hot, it will be pliable enough to twist as seen below. When removed from the heat, it keeps it's shape and becomes much more stiff than before.

Then take some dollar store zig-zag ribbon and wrap it around the plastic stems, gluing as you go.


Voila! Recycled doll roses.


Sunday, January 25, 2015

Doll piano


I cut out two pieces for each side, and one piece for each of the long middle parts.
Glued them with a glue gun.

I then began putting pieces to add detail and a piece to make the keyboard 3D.

Added some cereal box cardboard on in strips to cover up the corrugations and add detail.
 
Printed off a keyboard from a Google images search, and trimmed it down to fit the slot.

I decopaged the keyboard on with some glossy mod podge to give the keys a shine, and painted the rest of the piano with several shades of brown to have the appearance of wood.


Saturday, January 24, 2015

How to make a doll grandfather clock


 I cut at least two pieces of cardboard out for every fitting part so that it would be sturdy enough for a little girl to play with. Here is the back of the neck of the clock with the two sides.
Glued those together with a base.


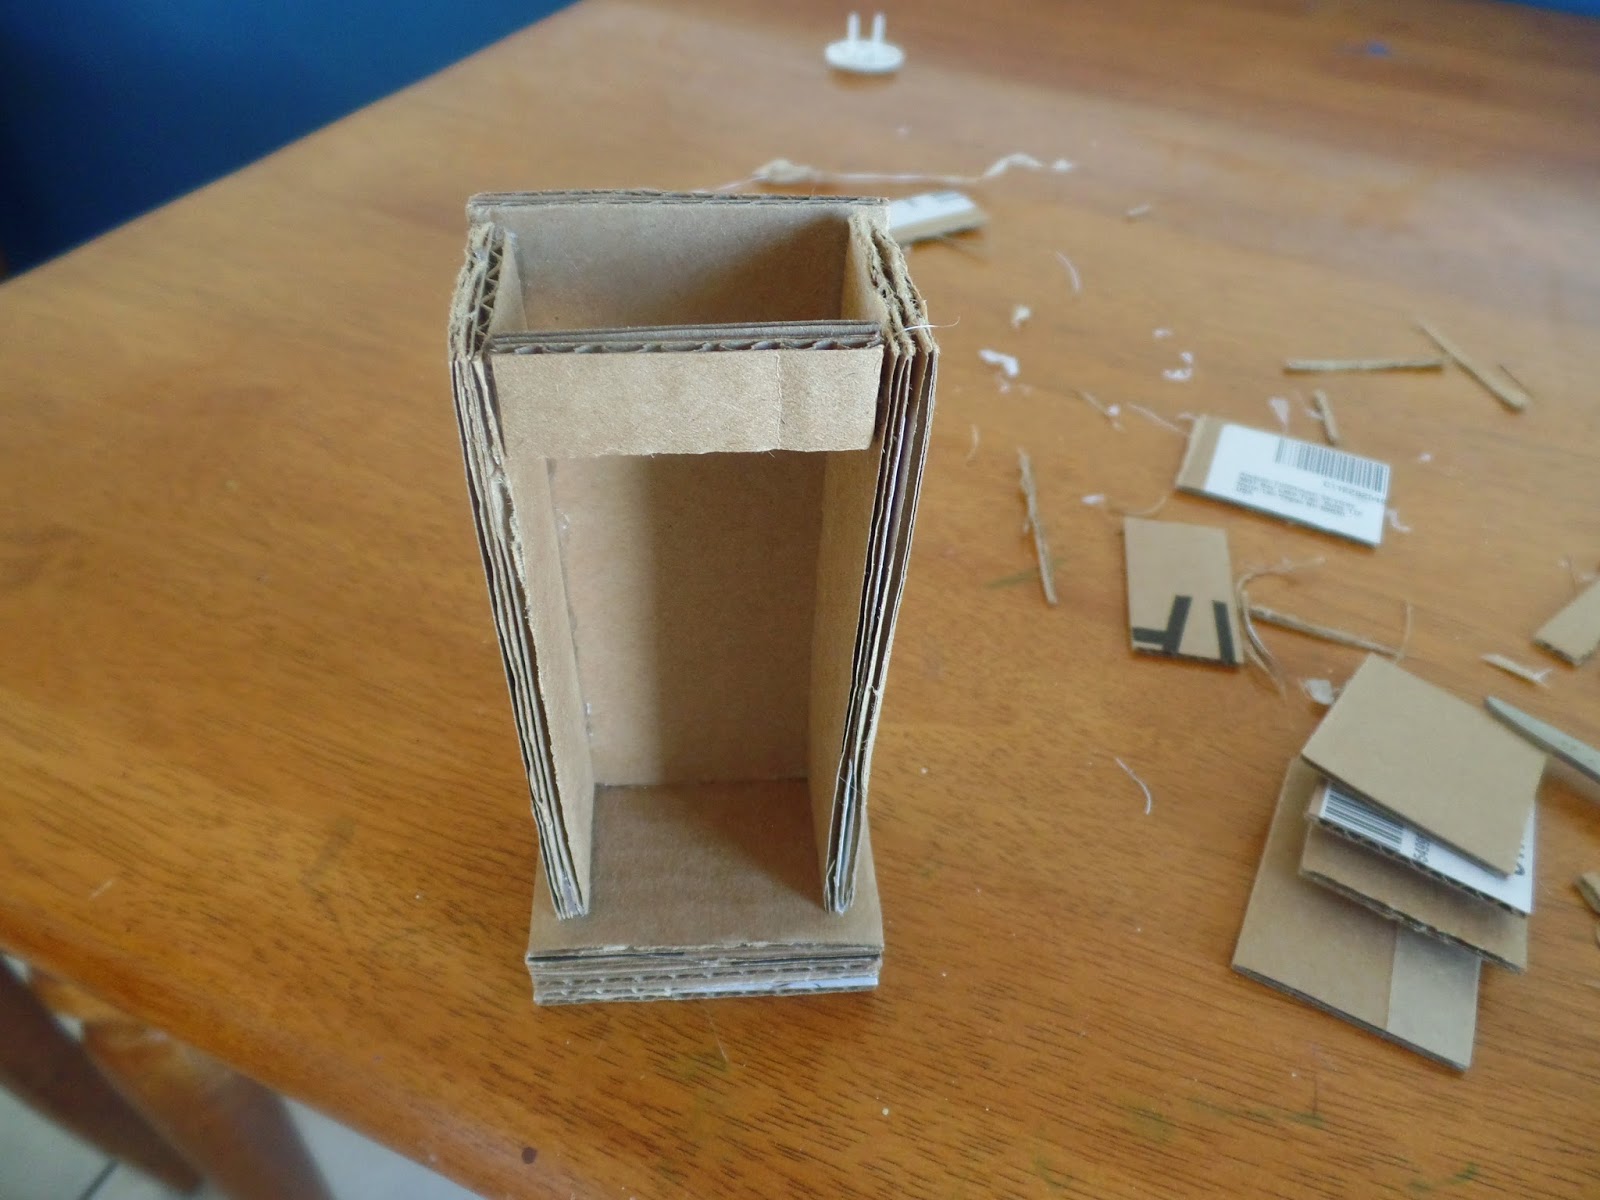
I glued together a box of cardboard with a recessed front for the clock face.

Added some curves for the top.

Covered the curves with some cereal box paper board.


Then cut a small wooden dowel the appropriate size to fit inside the clock neck and rolled some paper in a tube around it and glued the paper roll shut.

I glued 3 tooth picks together with a bead glued to the bottom and the rolled paper tube glued to the top.

I painted the pendulum gold, slipped the wooden dowel through the rolled paper tube, and glued the dowel inside the neck of the clock.


Then I covered all of the exposed cardboard corrugations up with paper board.
I cut some clear packaging into a rectangle and stapled strips of paper board onto it.


I covered the staples with more strips of cardboard and glued it on to the front of the clock to resemble glass. I also glued the clock box on top of the pendulum box. Tip it back and forth and the pendulum actually swings!

Paint it. Print off a clock face from a Google image search, decopage the clock face to the cardboard and there you go, another trash to treasure for your doll house.


How to make a doll horse drawn carriage


Look at this beautiful juice jug! Is it not singing with untapped potential?

Here is the video on how I did it:


Tada! A carriage.